There’s nothing quite like that moment when a perfectly cooked steak arrives at your table in a restaurant: a beautiful, caramelized crust, tender and juicy interior, and a rich, savory aroma. It leaves many home cooks wondering, “What’s the secret to making the perfect steak?” While it might seem like a culinary mystery reserved for professional chefs, the truth is, with a few key techniques and a little understanding of food science, you can achieve that elusive restaurant-quality steak right in your own kitchen. This guide will walk you through every step to help you master the art of cooking perfect steak at home.
Choosing Your Canvas: Best Cuts for Steak at Home
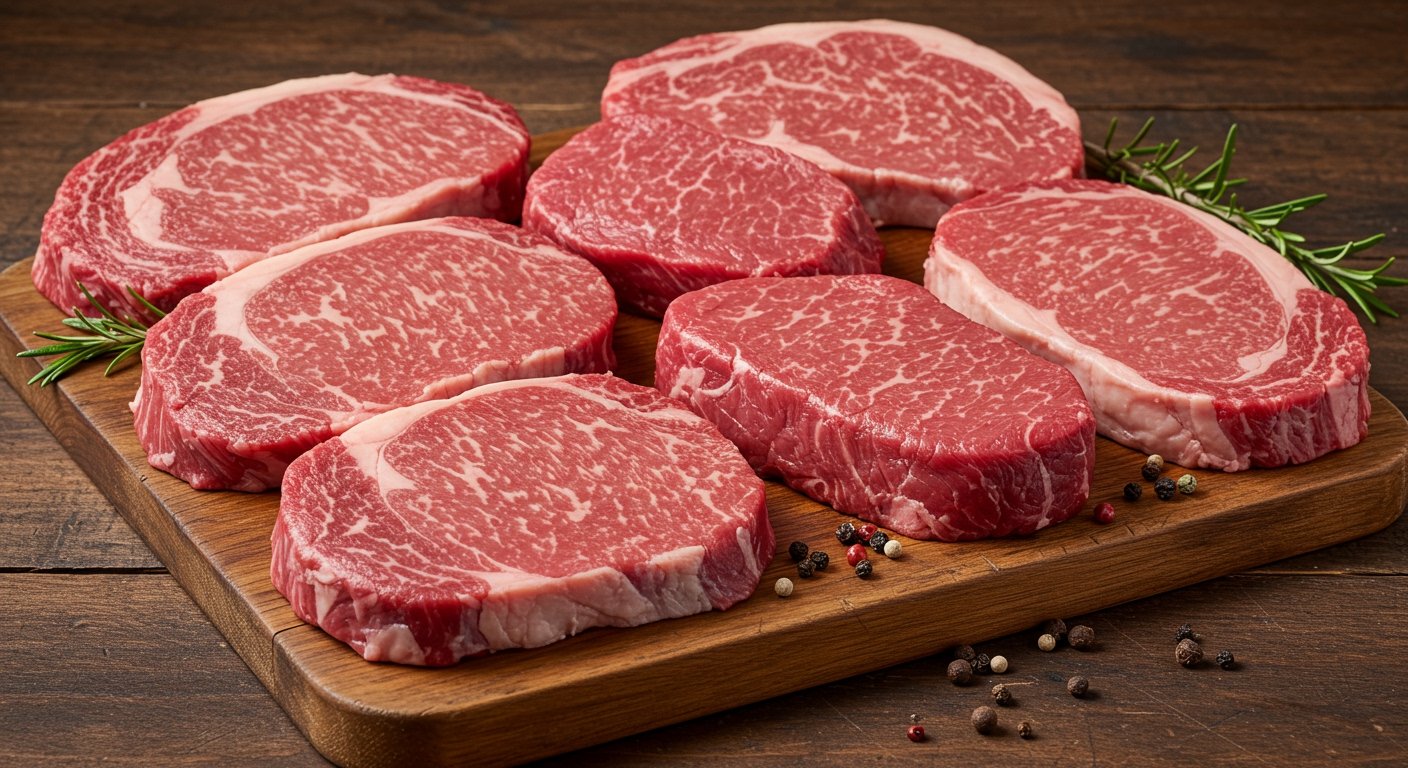
The journey to a fantastic steak begins with selecting the right cut. While personal preference plays a role, certain cuts are naturally more tender and flavorful, making them ideal for pan-searing or grilling to achieve restaurant-level results. Look for well-marbled cuts – those with small flecks of fat distributed throughout the muscle. This intramuscular fat melts during cooking, basting the meat from within and contributing to both flavor and juiciness.
- Ribeye: Known for its rich marbling and robust flavor, the ribeye is a perennial favorite for steak lovers. It’s incredibly tender and juicy.
- New York Strip (or Strip Loin): Offers a good balance of tenderness and chew, with a prominent beefy flavor and a nice fat cap along one side.
- Filet Mignon (Tenderloin): The most tender cut, with a buttery texture and mild flavor. It has very little fat, so it’s often wrapped in bacon or served with a sauce.
- Sirloin: A more economical choice that can still deliver great results, especially the top sirloin, which is leaner but still flavorful. Kansas State University meat scientists have researched how fat content, muscle structure, and aging influence the tenderness of different beef cuts, noting that tenderness is very much driven by the individual cut. [14]
Preparation is Key: Laying the Foundation for Tenderness
Proper preparation is often overlooked but is crucial for that tender, evenly cooked steak. Many chefs emphasize bringing steak to room temperature before cooking to ensure even cooking and prevent toughness. This allows the heat to penetrate the meat more consistently, rather than having a cold center and overcooked exterior.
Step-by-Step Preparation:
1. Bring to Room Temperature: Remove your steak from the refrigerator at least 30-60 minutes before cooking. For thicker cuts, an hour might be needed. This simple step helps the steak cook more evenly.
2. Pat Dry: Use paper towels to thoroughly pat both sides of your steak dry. Excess moisture on the surface prevents a good sear, as the energy goes into evaporating water instead of browning the meat. This is a critical step for achieving perfect steak crust.
3. Trim (Optional): If there’s excessive fat or silver skin, you can trim it, though a little fat adds flavor. For more intricate knife work, you might want to brush up on your master basic knife skills.
Steak Seasoning Tips: Simple is Often Best
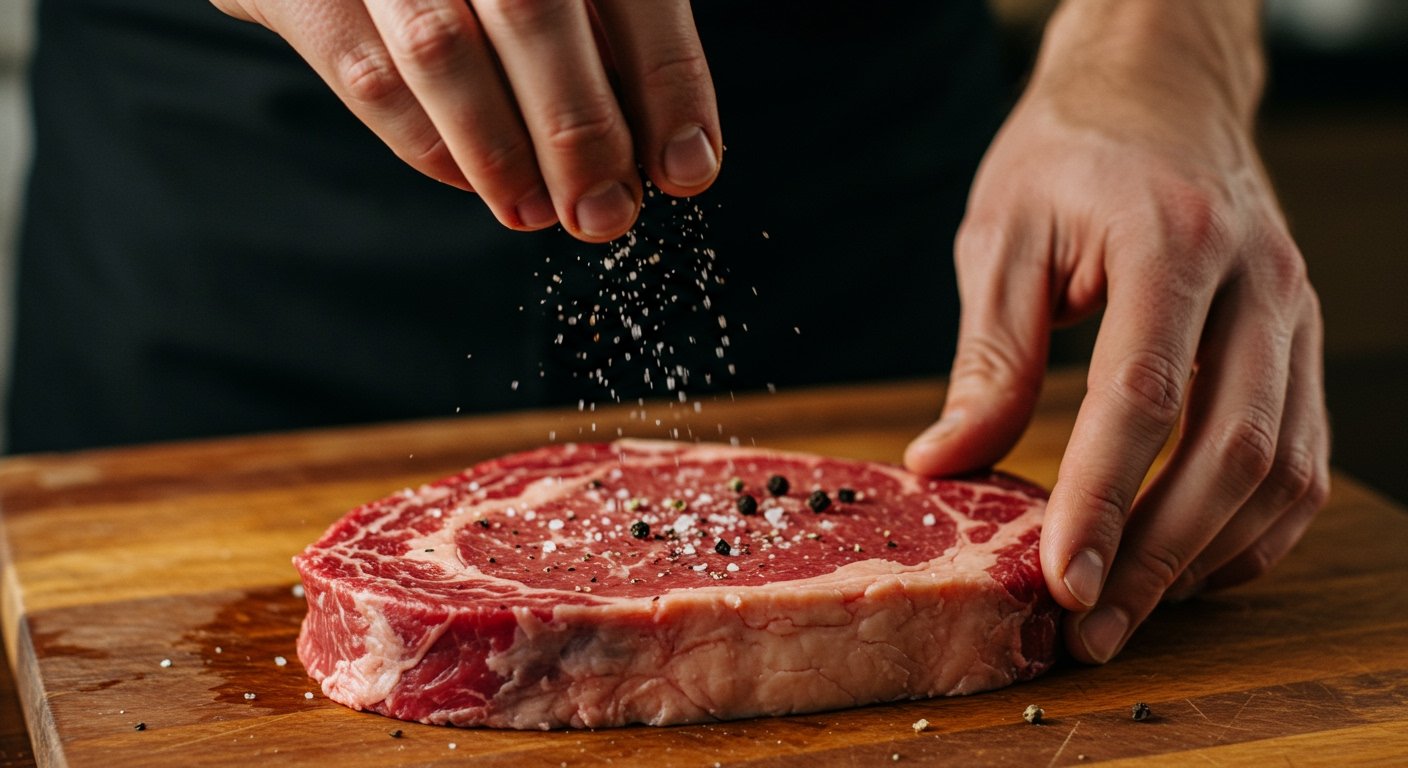
When it comes to seasoning, less is often more. For a truly perfect steak at home, you want the natural beef flavor to shine. Surveyed consumers often agree, with 47% preferring to season their steaks with only salt and pepper. [CTRL_A]
- Salt: Use a generous amount of coarse salt (like kosher salt or sea salt) on both sides. Salt helps draw out moisture initially, then reabsorbs it, seasoning the meat from within and contributing to the crust.
- Pepper: Freshly ground black pepper adds a wonderful aromatic kick. Add it just before cooking or during the final minutes to prevent it from burning.
- Optional: A touch of garlic powder or onion powder can be added, but avoid complex rubs that can burn at high temperatures.
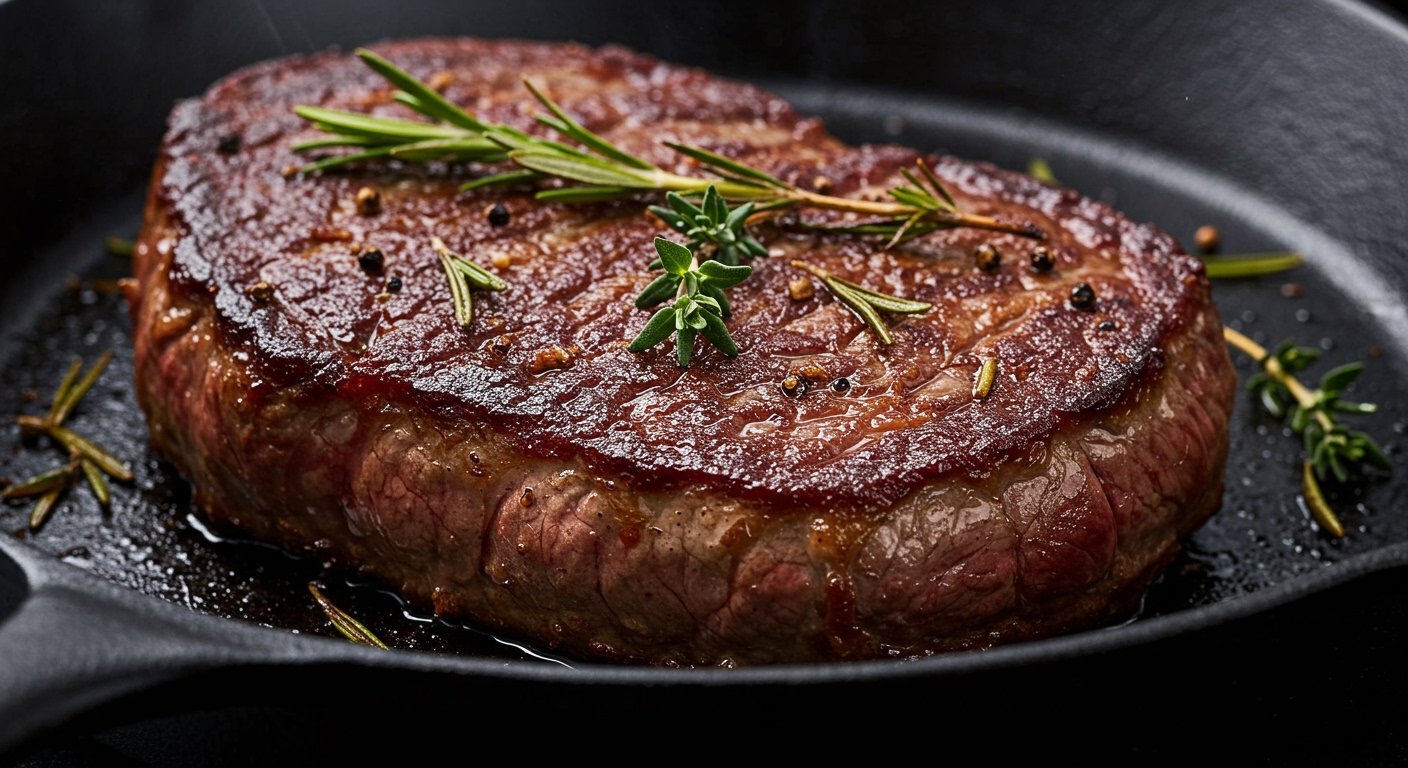
The Heat is On: Achieving Perfect Steak Crust
“How do you get a good crust on a steak?” This is perhaps the most sought-after secret to restaurant-quality steak, and it all comes down to high heat and a phenomenon known as the Maillard reaction. The Maillard reaction is a complex chemical process between amino acids and reducing sugars that occurs when food is heated above 280°F (140°C), creating hundreds of new flavor compounds and that desirable browned surface. [8] This is what gives seared meats their distinctive savory flavor and appealing color.
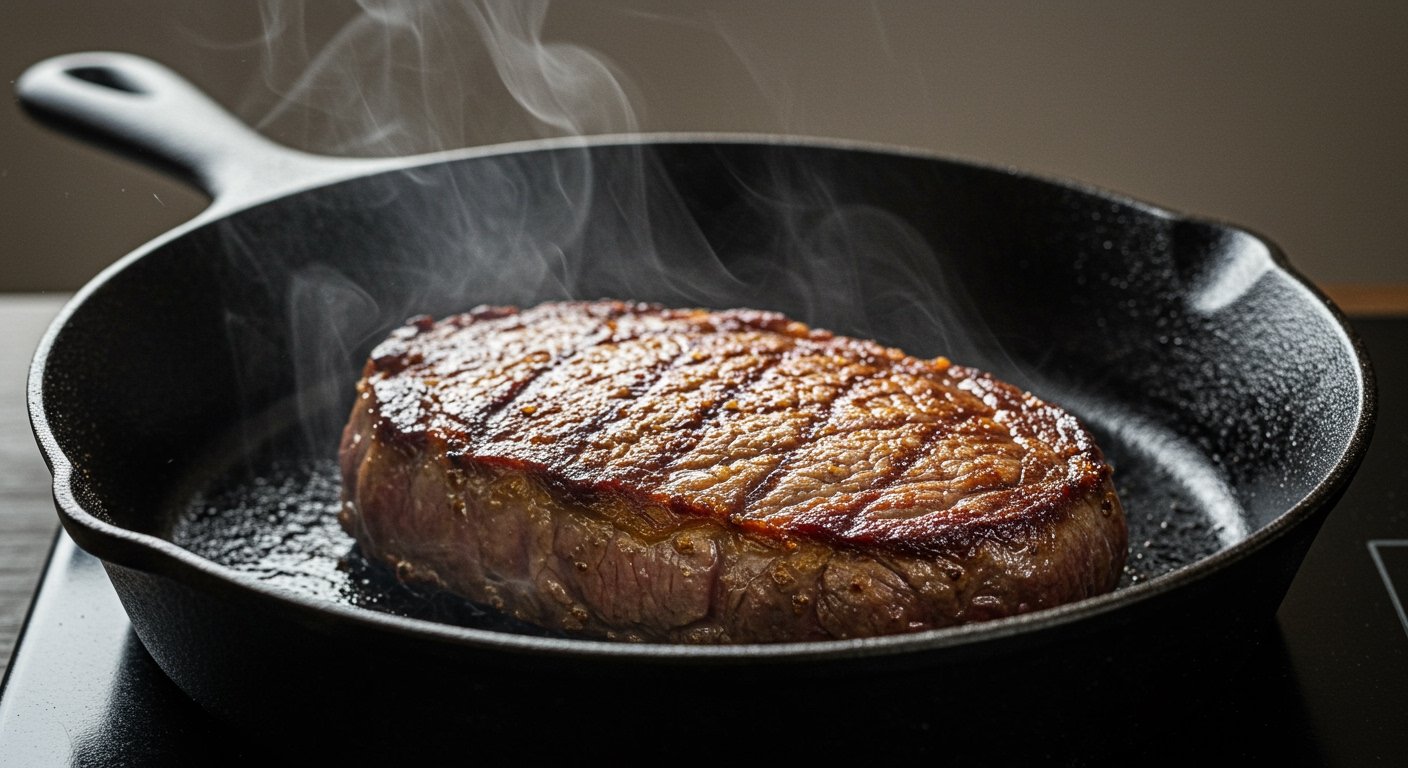
Restaurants often use incredibly powerful equipment for this. Professional wood-fired grills can reach over 700°F, and infrared grills can exceed 1,000°F. While you might not have that in your home kitchen, using super high heat is crucial for creating the best crust on a steak. A heavy-bottomed pan, especially a cast iron skillet, is your best friend here. Cast iron holds heat exceptionally well, providing a consistent, searing surface.
Tips for the Perfect Crust:
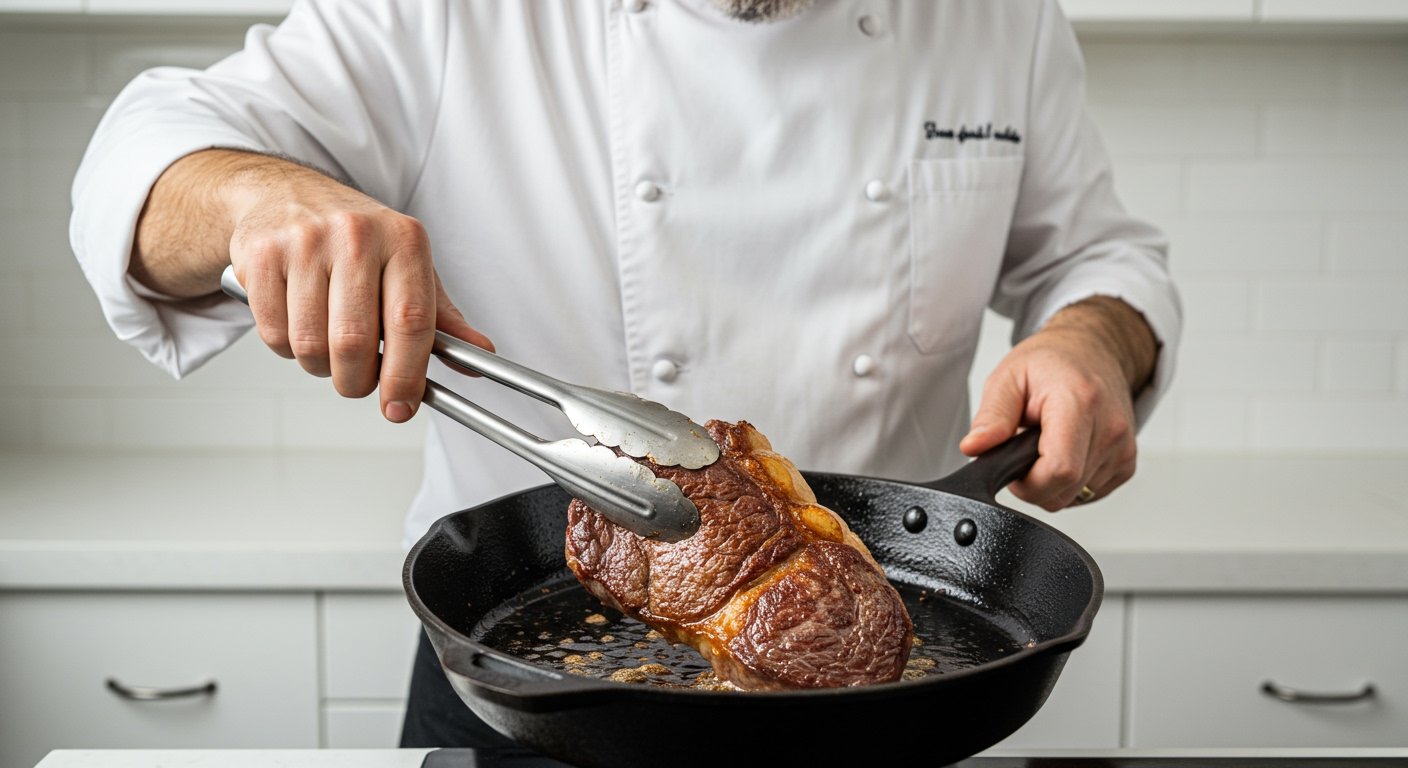
- Hot Pan, Little Oil: Heat your cast iron pan until it’s smoking slightly before adding a high smoke point oil (like grapeseed, canola, or avocado oil). Don’t crowd the pan; cook one or two steaks at a time to maintain high heat.
- Sear Hard: Place your steak in the hot pan and don’t move it! Let it sear undisturbed for 2-4 minutes per side, depending on thickness and desired crust. This direct contact with intense heat is what builds the “Pan-seared steak restaurant style” crust.
Cooking Methods for a Pro-Level Finish: How to cook steak like a pro
Once you’ve achieved that glorious crust, the internal cooking needs attention. The cooking rate (oven temperature) and final internal temperature (degree of doneness) significantly influence collagen content, proximate composition, and volatile flavor compounds, which contribute to steak tenderness and flavor. [CTRL_B] Here are two popular methods chefs use:
Pan-Searing: The Classic Restaurant Method
For thinner steaks (under 1.5 inches), pan-searing on its own might be enough. Sear on both sides as described above, then reduce the heat slightly and continue cooking, flipping every minute or so, until the desired internal temperature is reached. For thicker steaks, many chefs combine searing with oven-finishing:
1. Sear: Get a deep, dark crust on both sides in a screaming hot pan (2-3 minutes per side).
2. Transfer to Oven: Immediately transfer the pan (if oven-safe) to a preheated oven (around 375-400°F or 190-200°C) to finish cooking to your desired doneness. This ensures even cooking through the center without burning the exterior.
Reverse Sear Steak at Home: The Gentle Approach
This method is fantastic for thicker steaks (1.5 inches or more) and offers exceptional control over doneness, resulting in edge-to-edge perfection. It’s how many pros achieve “How do restaurants make their steak so tender?” results consistently.
1. Low Oven Cook: Place the seasoned steak on a wire rack set over a baking sheet. Cook in a low oven (225-275°F or 107-135°C) until the internal temperature is about 10-15 degrees below your target doneness. This can take 30-60 minutes, depending on thickness. This slow cooking breaks down collagen, contributing to tenderness. [11]
2. High Heat Sear: Remove the steak from the oven and let it rest for 10 minutes. Then, sear it in a smoking hot cast iron pan with a little oil for 60-90 seconds per side, creating that incredible crust. The cool down slightly prevents overcooking during the sear.
Sous Vide Steak for Beginners (A Brief Mention)
For ultimate precision and tenderness, sous vide (cooking in a temperature-controlled water bath) is another professional technique gaining popularity at home. The steak is cooked to a precise internal temperature, then seared for a crust. It’s an advanced method for beginners, but yields incredibly consistent and tender results.
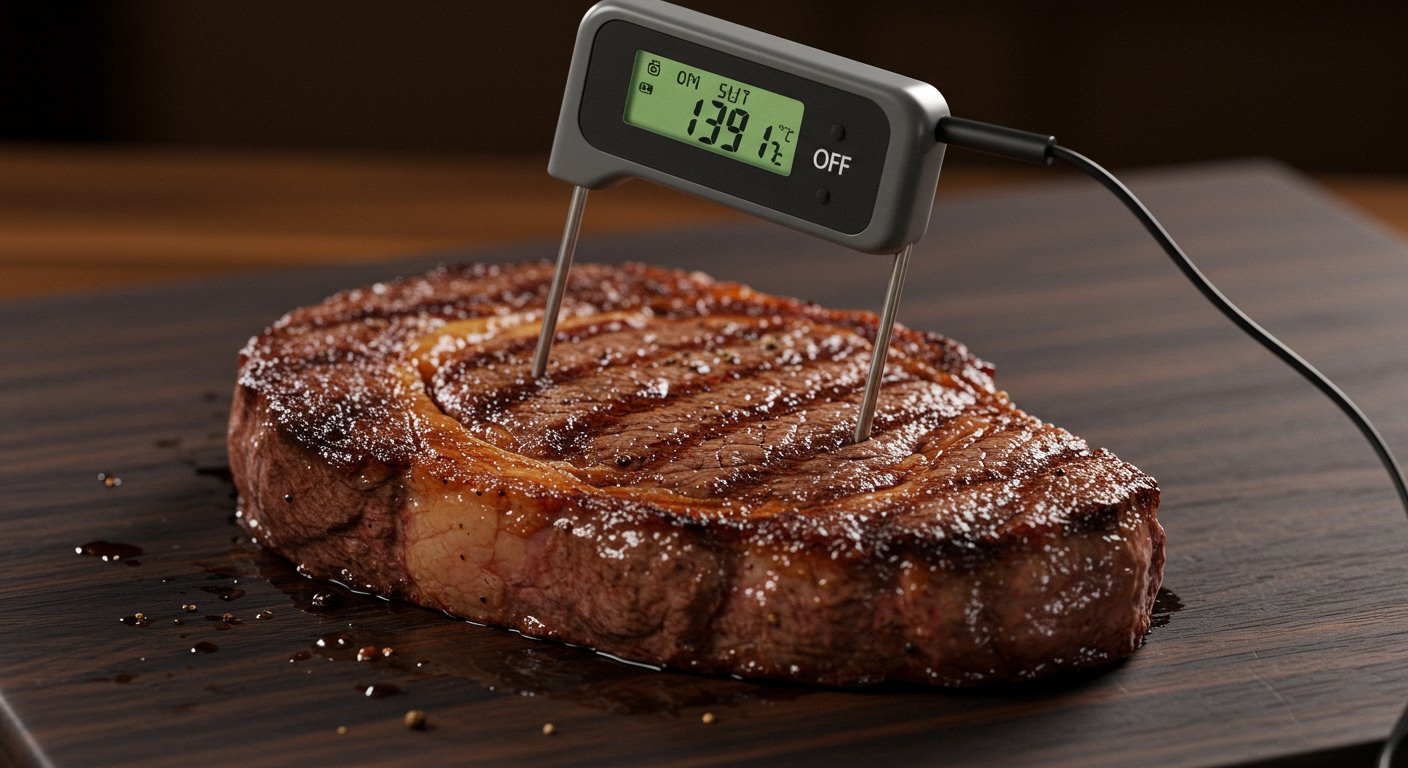
The Internal Secret: Steak Doneness Guide and Tenderness
Understanding internal temperatures is the ultimate “Steak doneness guide” to replicate restaurant precision. To ensure your steak is cooked exactly how you like it, a reliable meat thermometer is indispensable. Don’t guess; measure! The USDA recommends cooking whole cuts of beef, pork, veal, and lamb to a minimum internal temperature of 145°F (62.8°C), followed by a 3-minute rest. [1]
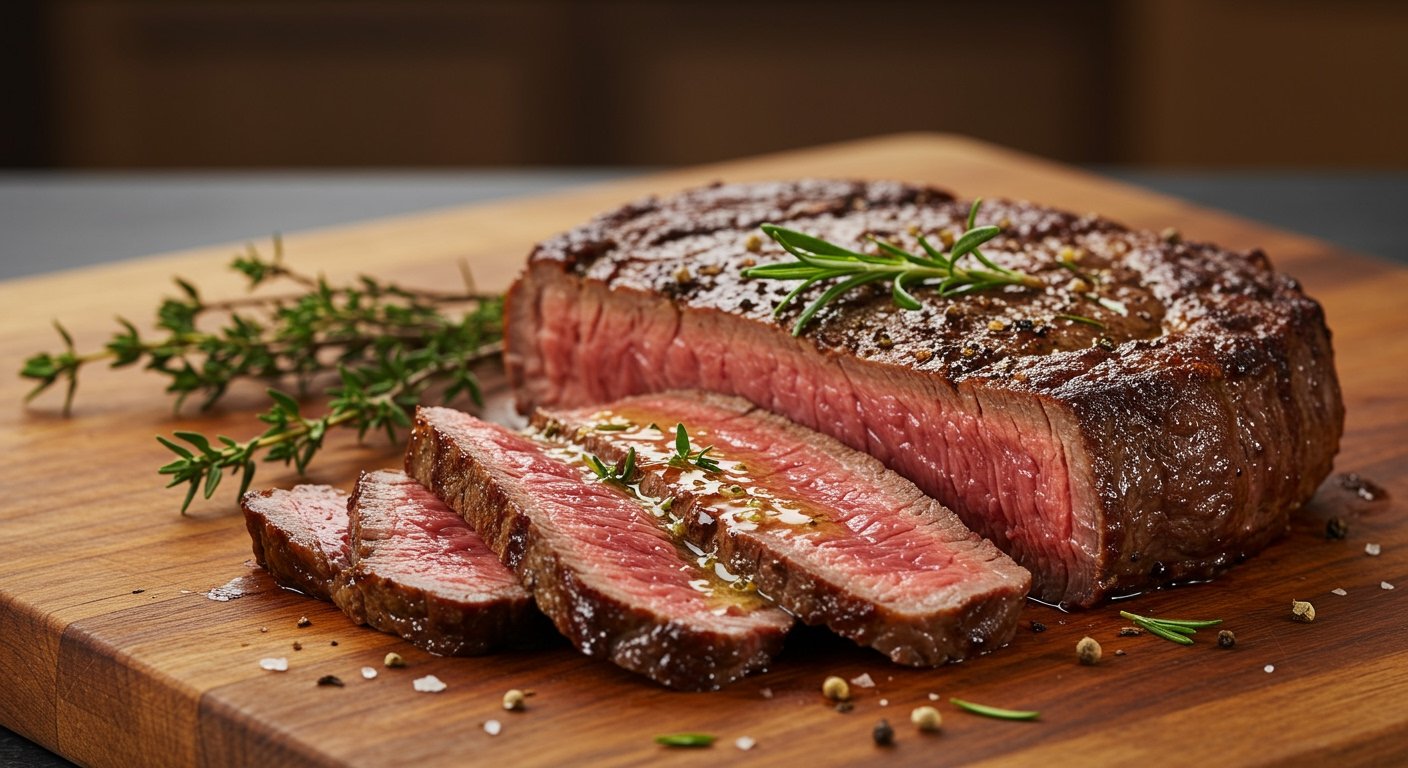
“Medium rare” is often the preferred degree of doneness for ordering steak at a restaurant and cooking steak at home among surveyed consumers. [CTRL_A] It’s also worth noting that 41% of consumers surveyed have been critical of someone who orders or cooks their steak “well done.” [CTRL_A] This preference is due to the optimal balance of tenderness, juiciness, and flavor at medium-rare.
Internal Steak Temperature Guide (After Resting):
- Rare: 125-130°F (52-54°C) – Cool red center
- Medium-Rare: 130-135°F (54-57°C) – Warm red center (Most preferred by consumers!)
- Medium: 135-140°F (57-60°C) – Warm pink center
- Medium-Well: 140-145°F (60-63°C) – Slightly pink center
- Well-Done: 145°F+ (63°C+) – No pink, fully cooked through
The Grand Finale: Resting and Finishing Touches
Even after cooking, there are still crucial steps to ensure a truly great steak. Two final elements will elevate your “Perfect steak at home” to restaurant standards.
How to Properly Rest Steak
This is arguably the most important step after cooking. As meat cooks, the muscle fibers contract, pushing juices towards the center. If you cut into the steak immediately, all those delicious juices will run out onto your cutting board, leaving you with a dry steak. Resting allows the muscle fibers to relax and reabsorb those juices, resulting in a much juicier, more tender bite.
- Resting Time: For most steaks, rest for 5-10 minutes. Thicker steaks (over 1.5 inches) might benefit from 10-15 minutes. Cover loosely with foil to keep warm.
Should You Put Butter on Steak? Finishing Butter for Steak
Adding a pat of butter, often referred to as “finishing butter for steak” or a compound butter, at the very end of the cooking process or during the rest adds an incredible richness and glossy sheen. This is a common restaurant trick.
- Simple Butter: Just a tablespoon of unsalted butter placed on top of the hot steak as it rests will melt beautifully.
- Compound Butter: Elevate it further by mixing softened butter with minced garlic, fresh herbs (like rosemary or thyme), and a pinch of salt and pepper. Roll it into a log, chill, and slice off a disc to place on your hot steak. The melting butter combines with the steak’s juices to create an instant pan sauce.
With these secrets in hand – from selecting the right cut and mastering the Maillard reaction to precise temperature control and the all-important rest – you’re now equipped to cook a perfect steak at home that rivals your favorite restaurant. Enjoy the journey to becoming your own steakhouse chef!
Key Takeaways
- Choose well-marbled cuts like ribeye or New York strip for best results.
- Bring steak to room temperature and pat it thoroughly dry before cooking.
- Use high heat, ideally a cast iron pan, to achieve a deep, flavorful crust through the Maillard reaction.
- Monitor internal temperature with a meat thermometer for precise doneness, aiming for medium-rare (130-135°F) for optimal tenderness and juiciness.
- Always rest your steak for 5-15 minutes after cooking to allow juices to redistribute, ensuring a tender and moist result.
- Consider adding a finishing butter or compound butter during the rest for extra richness and flavor.