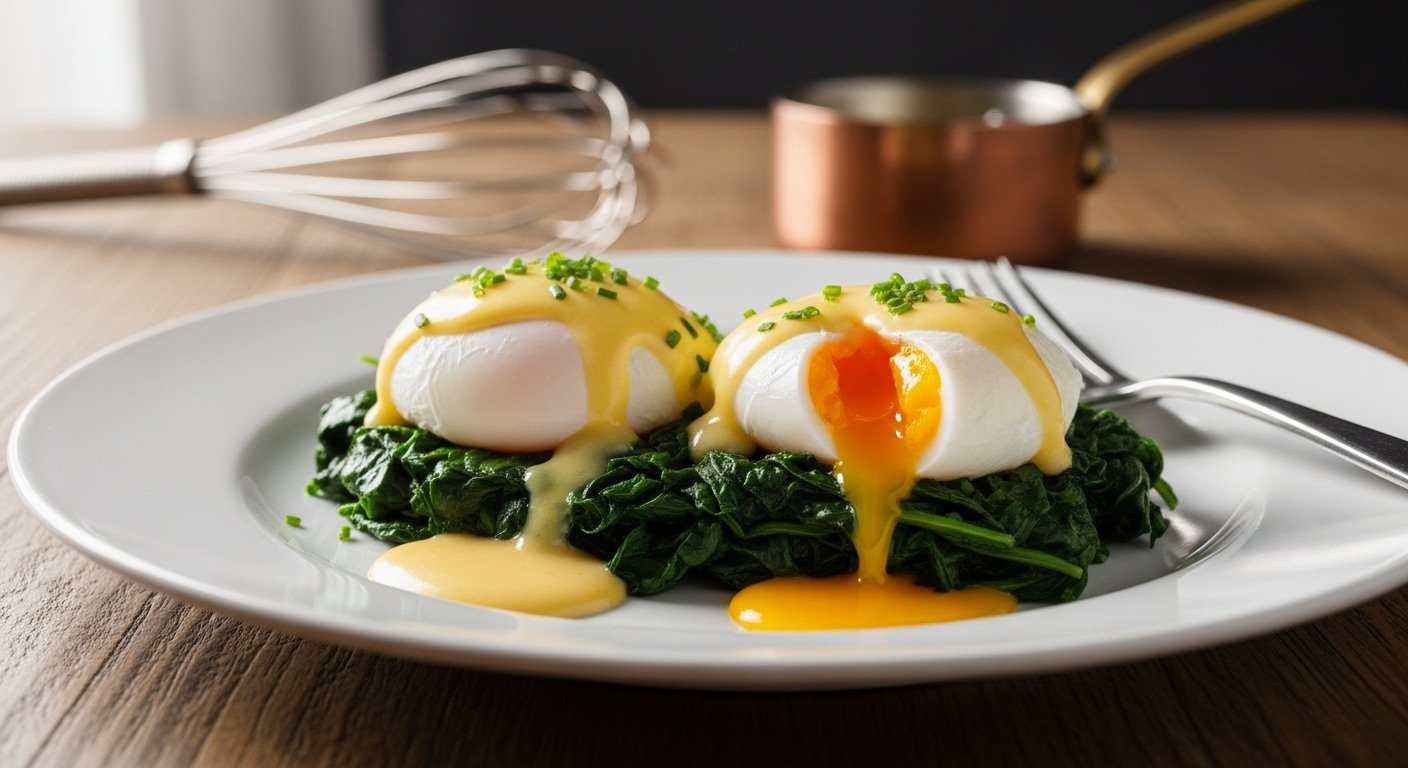
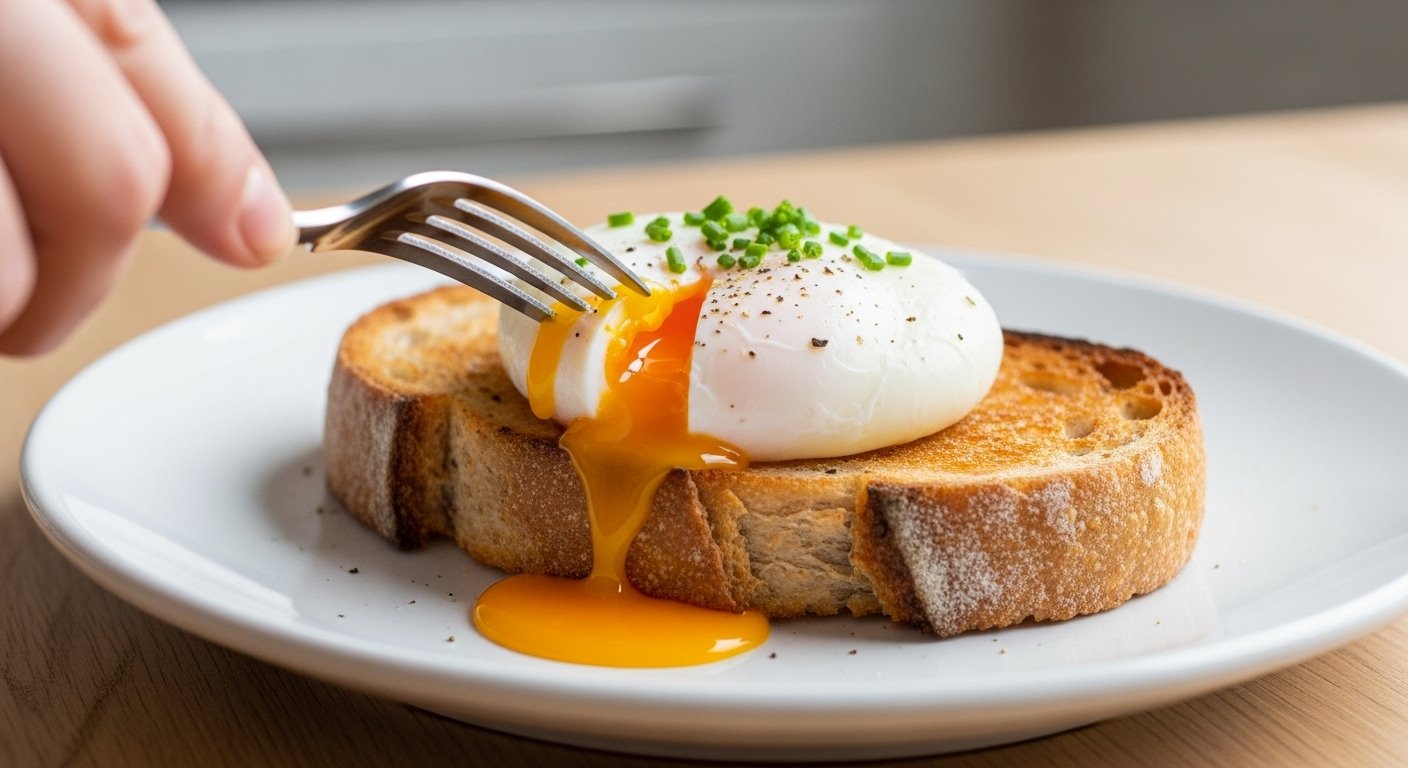
Poached eggs are a culinary delight, known for their delicate texture: firm, silky whites encasing a rich, runny yolk. They elevate any meal, from a simple avocado toast to a decadent Eggs Benedict. If you’ve ever wondered how to poach eggs flawlessly, you’re in the right place. This comprehensive guide will equip you with the techniques and tips to consistently create perfect poached eggs, turning a seemingly daunting task into an easy culinary success.
Beyond their exquisite taste and elegant presentation, poached eggs are also a healthier option compared to their fried or scrambled counterparts. They typically contain fewer calories and less fat because they don’t require additional butter, oil, cream, or milk for cooking. As of a 2022 study by food blog Pantry & Larder, based on Google Trends data, poached eggs are the second most popular egg cooking style in the U.S., favored in 10 states. Furthermore, a 2025 report indicates that 2.97% (37,954) of restaurants offer poached eggs on their menus, highlighting their enduring appeal. While social conversations about poached eggs have seen a slight decrease of -6.68% over the past year according to Tastewise’s 2025 analysis, their classic status remains unchallenged.
What Makes a Poached Egg Perfect? Understanding the Basics
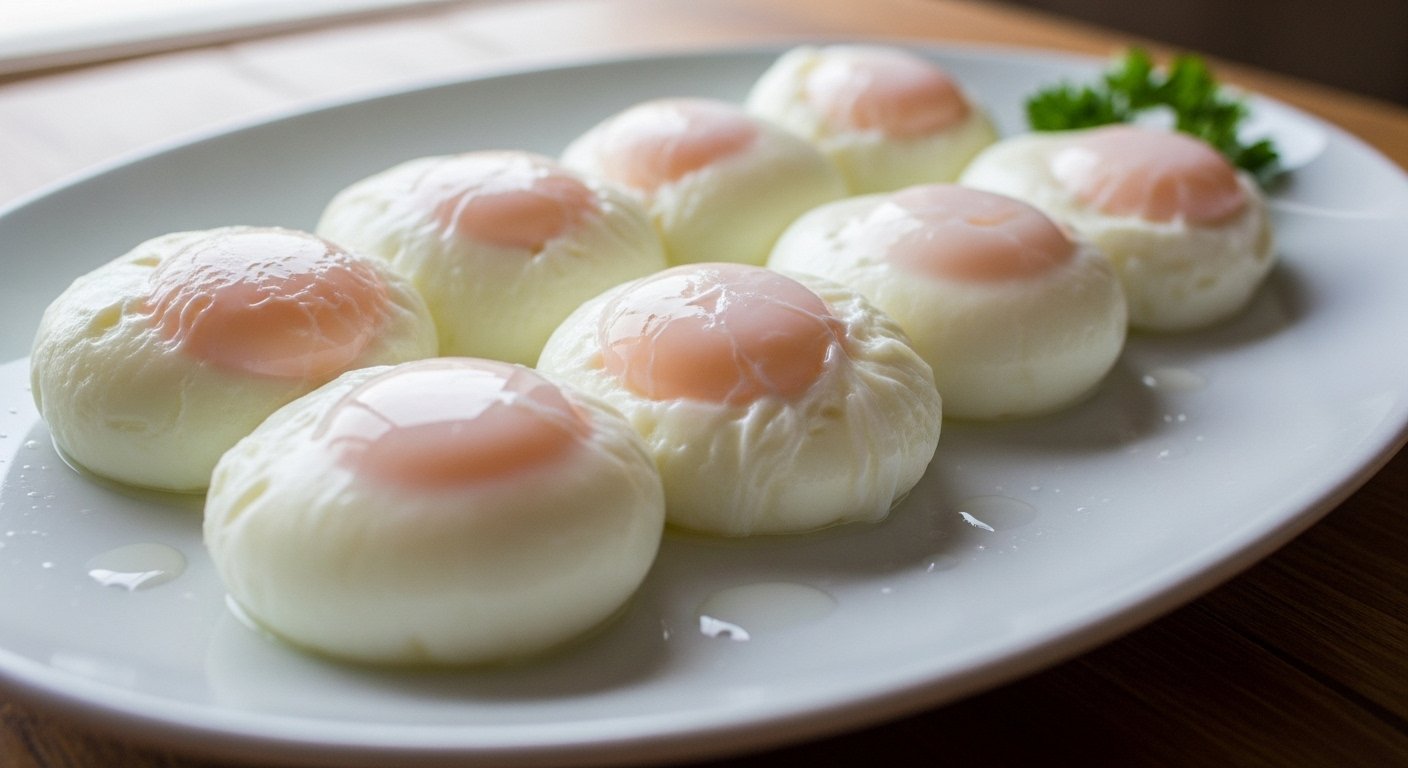
Achieving a perfect poached egg every time hinges on a few key elements: a fully set, tender egg white that encases the yolk snugly, and a warm, liquid yolk that oozes beautifully when cut. This balance requires careful control over water temperature and cooking time. By understanding the science behind egg coagulation, you can ensure your poached eggs are firm whites with a perfectly runny yolk.
The Essentials: Ingredients and Equipment for Your Poached Egg Journey
Before you dive into the poaching process, gather your ingredients and tools. The right setup is half the battle won for easy poached eggs.
The Star: Fresh Eggs Are Key
Are fresh eggs essential for poaching? Absolutely! The fresher your eggs, the better your results will be. Fresh Eggs have thicker whites that hold their shape better in the water, preventing those undesirable wispy whites. As eggs age, their whites become thinner and more prone to spreading out in the poaching water. Opt for eggs that are as close to their lay date as possible for the best structural integrity. [11]
To Vinegar or Not to Vinegar?
Should you add vinegar when poaching eggs? This is a common question. Adding a small amount of White Vinegar (or another acid like lemon juice) to your poaching water helps the egg whites set faster by lowering the temperature at which the proteins coagulate. [5, 6] This is due to the acid’s ability to denature proteins more quickly, preventing the whites from spreading too much and resulting in a more compact, well-formed poached egg. [4, 8]
You can poach eggs without vinegar, especially if you have very fresh eggs and use a fine-mesh strainer (more on that below). However, for foolproof poached eggs, especially if your eggs aren’t farm-fresh, a splash of vinegar is a helpful aid without significantly affecting the taste if used sparingly.
Essential Equipment:
You don’t need fancy gadgets to master this poached egg technique, just a few basic kitchen tools:
- A deep pot or saucepan: Allows the egg to fully submerge and prevents it from sticking to the bottom. Aim for a pot that is at least 6 inches deep to give the egg enough space to form properly. For more on kitchen essentials, check out our guide on essential kitchen gadgets for aspiring chefs.
- A Slotted Spoon: Crucial for gently lowering and retrieving your delicate poached eggs.
- Small bowls or ramekins: For cracking individual eggs before adding them to the water. This ensures you can inspect each egg and introduce them gently.
- A fine-mesh strainer: An optional but highly recommended tool for achieving perfectly shaped poached eggs with no wispy whites.
Mastering the Poached Egg Technique: A Step-by-Step Guide on How to Poach Eggs
This classic poached eggs recipe will guide you through the best way to poach eggs, ensuring beautiful results every time.
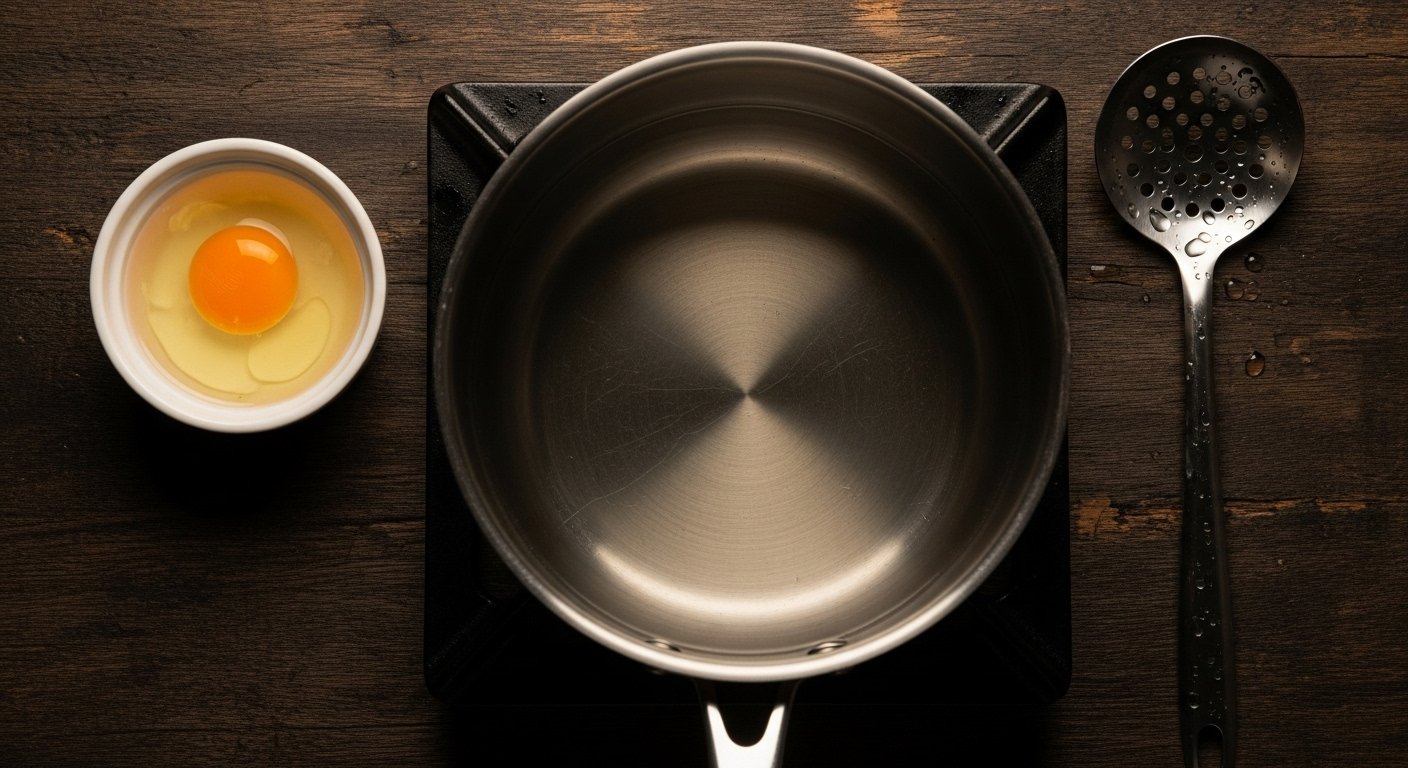
Step 1: Prepare Your Poaching Water
Fill your deep pot with about 4-6 inches of water. Bring the water to a boil over high heat, then immediately reduce it to a gentle simmer. What temperature for poaching eggs is ideal? The water should be between 180°F to 195°F (82°C to 90°C). This is key for successful poaching, as violently boiling water will break the egg apart, while water that isn’t hot enough won’t set the egg properly. [1, 7, 8] You’ll see small bubbles forming at the bottom of the pot, but the surface should be relatively calm, not rolling. Add 1-2 teaspoons of white vinegar per quart of water. This helps ensure poached eggs firm whites.
Step 2: Prepare Your Fresh Eggs
Crack each Fresh Egg into a separate small bowl or ramekin. This allows you to check for any shell fragments and ensures a clean transfer to the water. To avoid wispy whites, you can use the fine-mesh strainer trick: gently pour each cracked egg into a fine-mesh strainer for about 30 seconds. This removes the very thin, watery part of the egg white, leaving behind the thicker, more cohesive white that will cling better to the yolk.
Step 3: The Whirlpool Method (Optional but Recommended)
Is creating a swirling vortex necessary? While not strictly mandatory, especially with very fresh eggs or the strainer trick, the Whirlpool Method can be very helpful for beginners or when poaching one egg at a time. Use a spoon to vigorously stir the simmering water in one direction, creating a gentle spiral or vortex. This motion helps to wrap the egg white around the yolk as you introduce it, leading to a neater, more compact shape. The effectiveness of the vortex method is often debated for multiple eggs, but for single-egg poaching, it’s a solid technique. [3]
Step 4: Gently Introduce and Cook
Carefully slide your prepared egg from its small bowl into the simmering water, ideally into the center of the vortex if you’re using that method. Repeat for additional eggs, making sure not to overcrowd the pot. For best results, poach no more than 2-3 eggs at a time to maintain water temperature and prevent them from sticking together. Once the egg is in the water, avoid stirring excessively; let the gentle simmer do its work. For more genius cooking hacks, explore this article.
#### How Long to Poach Eggs?
- The cooking time for poached eggs varies depending on your desired yolk consistency. Generally:
- 3 minutes: For a very runny yolk (classic runny yolk poached eggs)
- 4 minutes: For a soft, warm, and flowing yolk
- 5 minutes: For a slightly firmer but still gooey yolk
To avoid overcooking poached eggs, keep a close eye on the timer and the appearance of the whites. The whites should be completely set and opaque, while the yolk remains soft. Remember, the coagulation of egg white proteins begins around 144-149°F (62.2-65°C), and egg yolks coagulate between 149-158°F (65-70°C). [8]
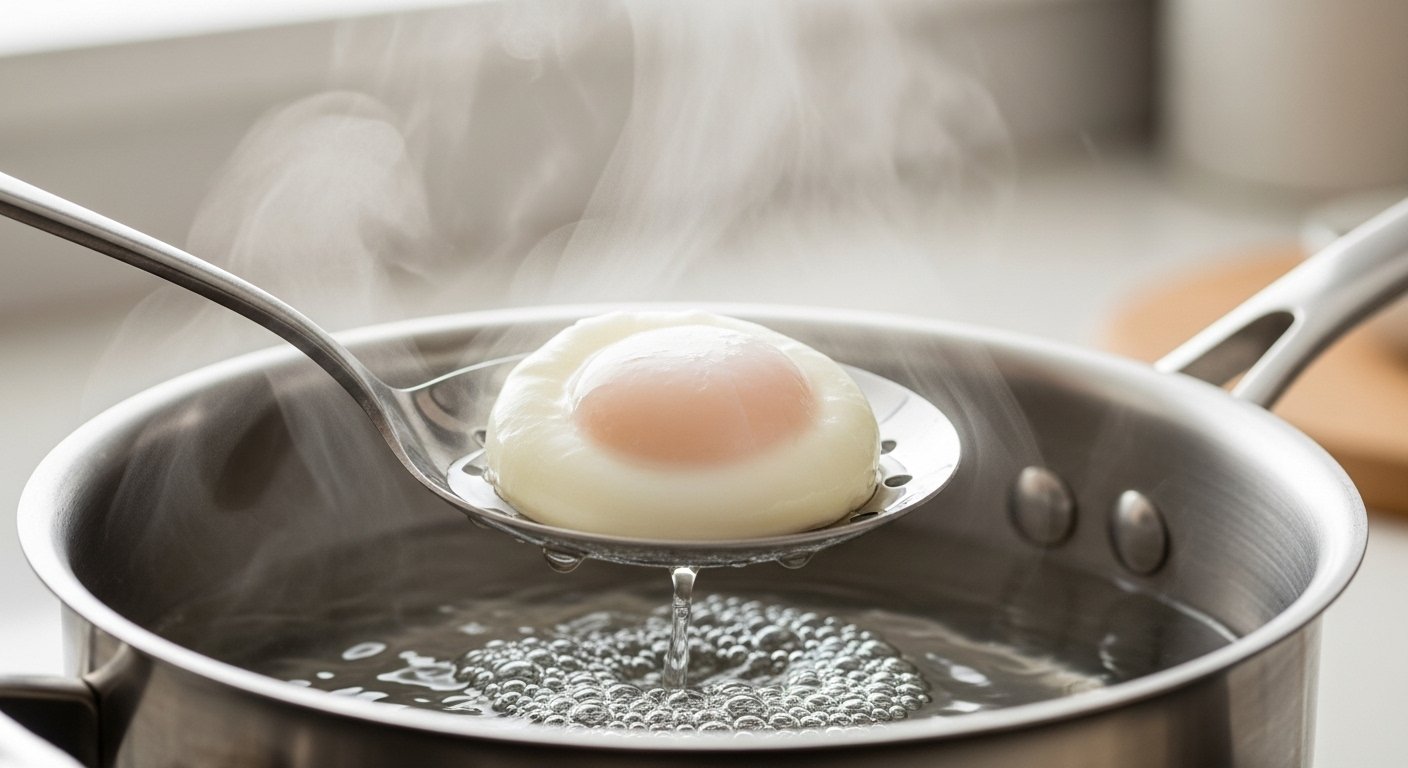
Step 5: Retrieve and Serve
Once cooked to your liking, gently lift each poached egg out of the water using your Slotted Spoon. Allow any excess water to drain off. You can dab them gently on a paper towel for a few seconds to ensure they’re not too wet before serving. Serve immediately on your favorite dish, such as toast, Eggs Benedict, or a fresh salad.
Expert Poached Egg Tips for Consistency
How can they ensure their poached eggs are perfect every time? Consistency is key. Here are some poached egg tips to help you achieve the best way to poach eggs consistently:
- Maintain Water Temperature: Keep the water at a gentle simmer. Too hot, and the egg will become tough and rubbery; too cold, and it won’t set properly.
- One Egg at a Time (Initially): If you’re new to poaching, start by cooking one egg at a time to get a feel for the process. As you gain confidence, you can carefully poach 2-3 at once.
- Deep Pot is Your Friend: A deeper pot allows the egg to immerse fully and form a better shape without hitting the bottom.
- Use a Ramekin: Always crack eggs into a ramekin or small bowl first. This gives you control and prevents accidental shell fragments.
- Troubleshooting Poached Eggs: If you’re getting wispy whites, your eggs might not be fresh enough, or your water might be simmering too vigorously. Try the fine-mesh strainer trick or add a touch more vinegar. If the yolk isn’t runny, you’ve likely overcooked it; reduce the poaching time next attempt.
Making Poached Eggs Ahead: The Ice Bath Method
Planning a brunch for a crowd? You can make poached eggs ahead of time! Poach your eggs as described above, but slightly undercook them by about 30 seconds to a minute. Immediately transfer the cooked eggs with a Slotted Spoon into an Ice Bath (a bowl of ice water). This stops the cooking process and chills the eggs, preserving their texture and preventing further cooking. Once completely cooled, store them in the ice bath in the refrigerator for up to two days.
To reheat, simply place the chilled poached eggs into a bowl of hot (not boiling) water for about 30-60 seconds, or until warmed through. This method is perfect for preparing poached eggs for eggs benedict or other dishes, ensuring less stress when entertaining. For more beginner-friendly cooking guides, check out our beginner’s guide to cook delicious meals from scratch.
The Healthy Choice: Why Poached Eggs Stand Out
Poached eggs are considered a healthier option compared to fried or scrambled eggs, as they are typically lower in calories and fat due to not requiring added butter, cream, milk, or oil for cooking. This makes them an excellent choice for a nutritious breakfast or a light addition to salads and other meals.
Mastering the art of perfect poached eggs is a rewarding skill that enhances your culinary repertoire. With a little practice, attention to detail, and this foolproof poached eggs recipe, you’ll be enjoying beautifully cooked eggs with runny yolks and firm whites every single time.
Scientific Insights into Egg Poaching:
The magic of poaching lies in the delicate denaturation and coagulation of egg proteins. Egg white proteins, primarily albumin, begin to coagulate and turn opaque between 144°F and 149°F (62.2°C and 65°C). [8] The yolk proteins, which include lipoproteins, coagulate at slightly higher temperatures, typically between 149°F and 158°F (65°C and 70°C). [1] This difference in coagulation temperature is what allows us to achieve firm whites while keeping the yolk beautifully runny. [7]