Achieving flawless woodworking projects hinges on precision, and at the heart of many accurate cuts is a well-calibrated miter saw. Whether you’re a seasoned woodworker or just starting, knowing how to calibrate a miter saw is a fundamental skill that ensures your crosscuts are perfectly square and true. Even a slight deviation in a miter saw’s blade angle can lead to frustrating gaps, uneven edges, and compromised structural integrity in your work, turning a meticulous project into a disheartening challenge. In fact, a deviation as small as 1 degree over a 1-inch span can result in a 1/32-inch gap in a finished miter joint, while 3 degrees over a 5-inch span can create a significant 3/8-inch gap. This guide will walk you through the essential steps to adjust your miter saw for accuracy, ensuring every cut meets your highest standards.
Why Is My Miter Saw Cutting Crooked? (Troubleshooting Miter Saw Cuts)
Many woodworkers eventually ask, “Why is my miter saw cutting crooked?” The answer often lies in alignment issues. Most miter saws are at least minimally out of alignment when new, directly out of the packing crate, or can be knocked out of alignment from transport or job site use. This isn’t a defect; it’s a common occurrence that highlights the importance of routine calibration. Several factors can contribute to a miter saw not cutting square:
- Factory Settings: As mentioned, even new saws may not be perfectly calibrated.
- Blade Issues: A dull, bent, or incorrect saw blade can cause cuts to stray. Ensure your saw blade is sharp and appropriate for the material.
- Impact or Vibration: Dropping the saw, heavy use, or even persistent vibration can shift internal components or the fence.
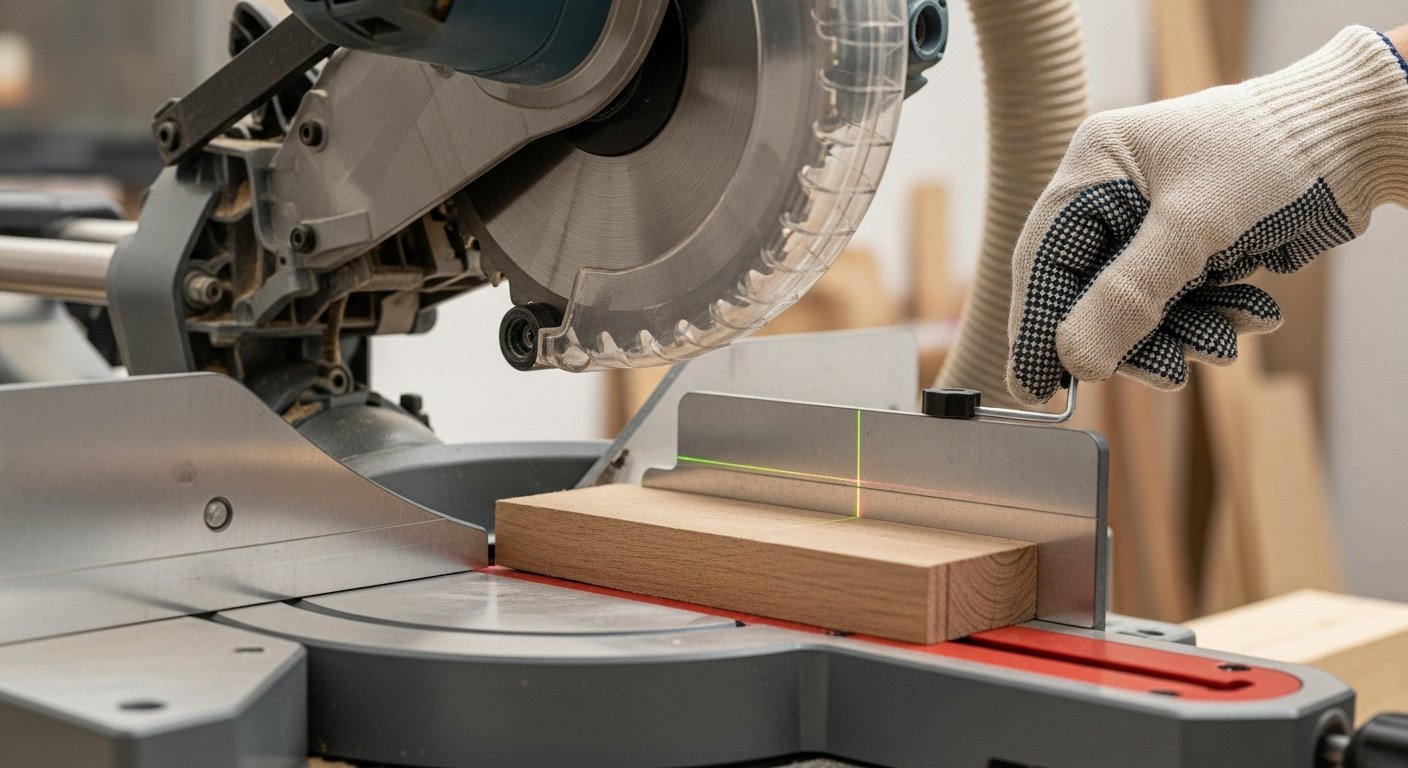
- Improper Setup: Not clamping the workpiece securely or allowing it to move during the cut will inevitably lead to inaccurate results.
- Worn Components: Over time, parts like the fence, detents, or pivot points can wear down, leading to play and inaccuracy.
- Dust and Debris: Accumulation of sawdust can prevent parts from seating correctly, especially around the detents and fence. Regular cleaning is crucial for maintaining tool longevity. For more on maintaining your power tools, consider reading our guide on power tool maintenance for longevity.
Recognizing these issues is the first step toward correcting them and achieving the perfect crosscuts you desire.
When Should You Calibrate a Miter Saw?
Regular calibration is key to maintaining a miter saw’s accuracy. You should make it a habit to check your saw’s alignment:
- Upon First Use: Always calibrate a new miter saw before its first project.
- After Transport: If you move your saw, especially between job sites, re-check the settings.
- After Heavy Use: Consistent work can cause components to shift; a quick check after large projects is wise.
- When Noticing Inaccuracy: The moment you suspect your miter saw is not cutting square or producing imperfect crosscuts, stop and calibrate.
- Periodically: Even without noticeable issues, a semi-annual or annual check helps preempt problems.
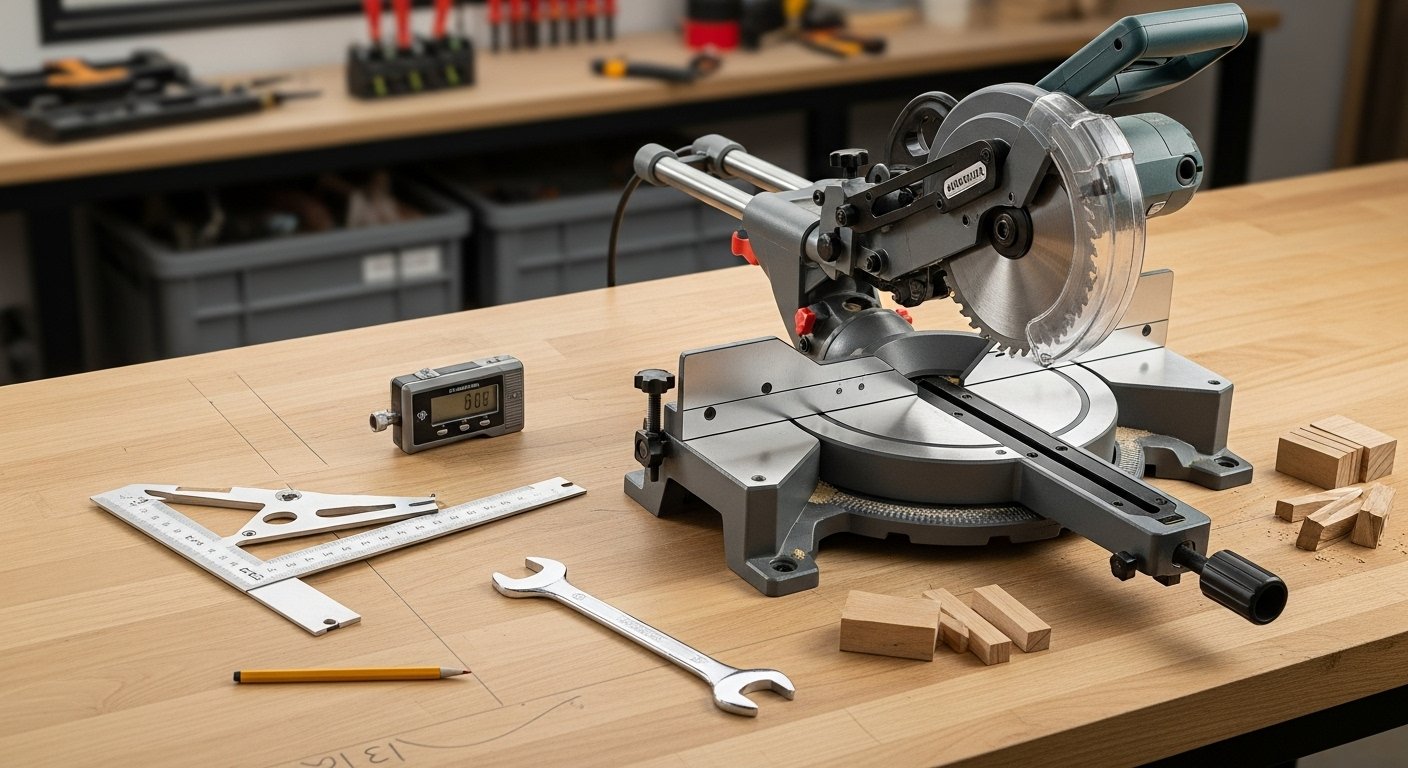
Essential Tools for Miter Saw Calibration
Before you begin the calibration process, gather the following tools to ensure you have everything you need for accurate adjustments:
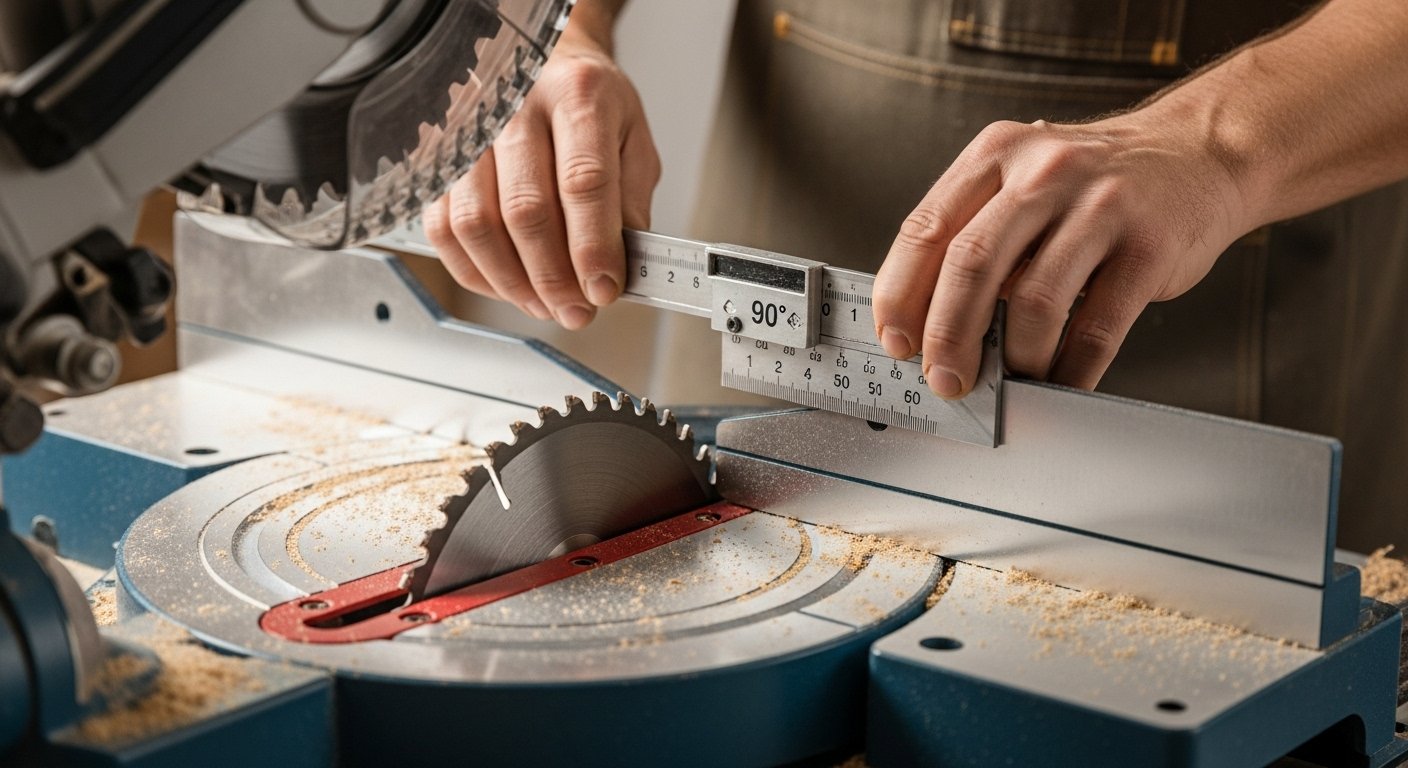
- Combination Square: A high-quality combination square is indispensable for checking 90-degree angles and fence alignment. Ensure it’s truly square itself.
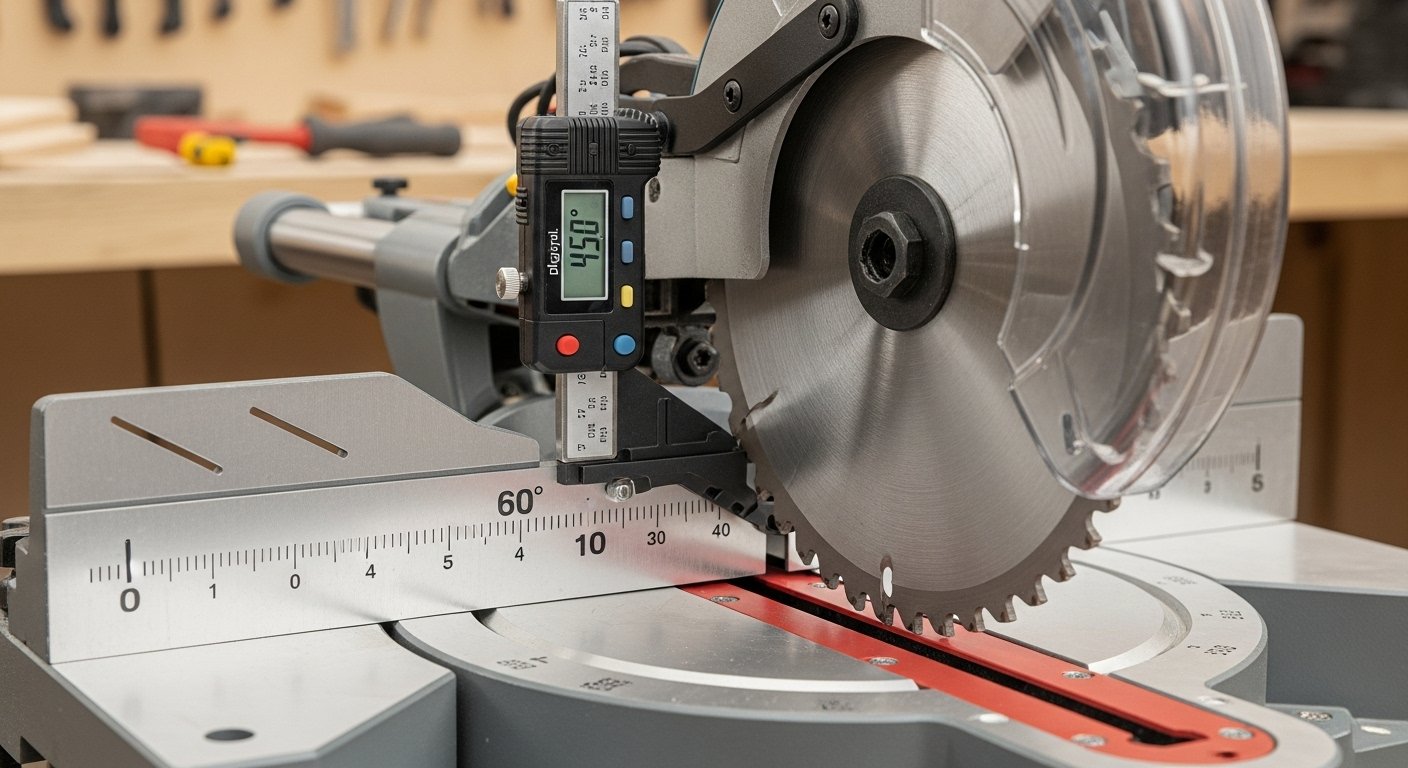
- Digital Angle Gauge: A digital angle gauge miter saw calibration tool offers precise readings for both miter and bevel angles, often to within 0.1 degrees. This significantly improves accuracy over analog scales.
- Sacrificial Wood Scraps: Essential for test cuts. Always use material similar to your project stock.
- Wrenches/Hex Keys: To loosen and tighten the various bolts and nuts on your miter saw for adjustments.
- Marker or Pencil: For marking test cuts.
- Safety Glasses: Always wear appropriate personal protective equipment when operating power tools or performing test cuts. The Occupational Safety and Health Administration (OSHA) provides detailed guidelines on machine guarding and safe operation of miter saws, emphasizing the importance of protection for the operator [5].
- Clean Cloth/Brush: To clear away sawdust and debris.
Step-by-Step Guide: How to Calibrate a Miter Saw for Perfect Crosscuts
This comprehensive guide will walk you through each critical adjustment, ensuring your miter saw delivers precise cuts every time. Remember, patience and attention to detail are paramount throughout this process.

Step 1: Safety First & Initial Inspection
Before touching any part of your miter saw for adjustment, ensure it’s unplugged from the power source. This is a non-negotiable safety step. Next, perform a thorough visual inspection:
1. Unplug the Saw: Always disconnect power before making any adjustments.
2. Clean the Saw: Clear away any accumulated sawdust, especially around the fence, table, and pivot points. Debris can interfere with accurate readings and adjustments.
3. Inspect the Saw Blade: A bent or dull saw blade is a primary cause of inaccurate cuts. Check the blade for any signs of damage, missing teeth, or excessive wobble. If necessary, replace it with a new, sharp blade. A good saw blade is crucial for achieving clean, perfect crosscuts.
4. Check Blade Tightness: Ensure the arbor nut holding the blade is securely tightened. A loose blade will wobble and cut inaccurately.
Step 2: Adjusting the Blade (Perpendicularity to the Table)
This adjustment ensures the saw blade is perfectly perpendicular (90 degrees) to the saw’s table when the saw head is fully down. This is crucial for accurate compound miter saw calibration and sliding miter saw adjustment.
1. Lower the Saw Blade: Gently bring the saw blade down to its lowest position, as if making a cut, but do not turn it on.
2. Use a Combination Square: Place the base of a reliable combination square flat on the saw’s table and bring the blade of the square flush against the saw blade. The square should rest against the flat, non-toothed part of the blade, not the teeth.
3. Check for Gaps: Look for any gaps between the combination square and the saw blade. If there’s a gap, your blade is not at a perfect 90-degree angle to the table.
4. Adjust the 90-Degree Stop: Most miter saws have a stop screw for the 90-degree bevel angle. Loosen the locking mechanism for the bevel adjustment (if applicable) and typically there is a small adjustment screw behind the saw head or under the table that controls the blade’s 90-degree stop. Adjust this screw incrementally until the saw blade is perfectly flush with the combination square. A digital angle gauge can also be used here by placing it on the table and against the blade for a more precise reading. Ensure your miter saw bevel adjustment is spot on.
5. Lock and Recheck: Once adjusted, tighten the locking mechanism for the bevel angle. Raise and lower the saw head a few times, then recheck with the combination square to confirm it holds its 90-degree position.
Step 3: Calibrating the Miter Angle (90-Degree Crosscut)
This is perhaps the most frequent adjustment and ensures your straight crosscuts are perfectly square. This process directly addresses how to adjust a miter saw for accuracy, especially for 90-degree adjustment.
1. Set Miter to 0 Degrees: Unlock the miter angle detent and set the saw’s miter scale pointer to 0 degrees. Lock it in place.
2. Check with Combination Square: Place the base of your combination square against the saw’s fence and bring the square’s blade against the side of the saw blade (again, avoiding the teeth). Ensure the square is firmly against both the fence and the blade.
3. Look for Gaps: Observe for any gaps between the square and the saw blade. If there’s a gap, the 0-degree miter setting is off.
4. Adjust the Miter Stop: Most miter saws have an adjustment screw or mechanism for the 0-degree miter stop. Loosen the appropriate bolts (often found near the miter scale or under the turntable) and subtly adjust the saw head until the blade is perfectly square to the fence. Some saws allow you to adjust the pointer on the scale, while others require adjusting the physical stop.
5. Tighten and Test: Once aligned, tighten all locking bolts. Make sure the miter saw 90 degree adjustment is solid. Raise and lower the saw head and recheck the 0-degree setting to ensure it remains accurate.
Step 4: The Five-Cut Test (Checking Miter Saw Accuracy)
The five-cut test is a superior method for detecting even minute deviations in your 90-degree crosscuts. This test magnifies any inaccuracy, making it easier to pinpoint and correct. A 0.025-inch (0.05mm) error compounded across four corners can lead to a 0.1-inch overall error, resulting in approximately 1.3 degrees of inaccuracy over a 3-foot, 6-inch span, which can significantly hinder the proper fit of components like tabletops or shelves.
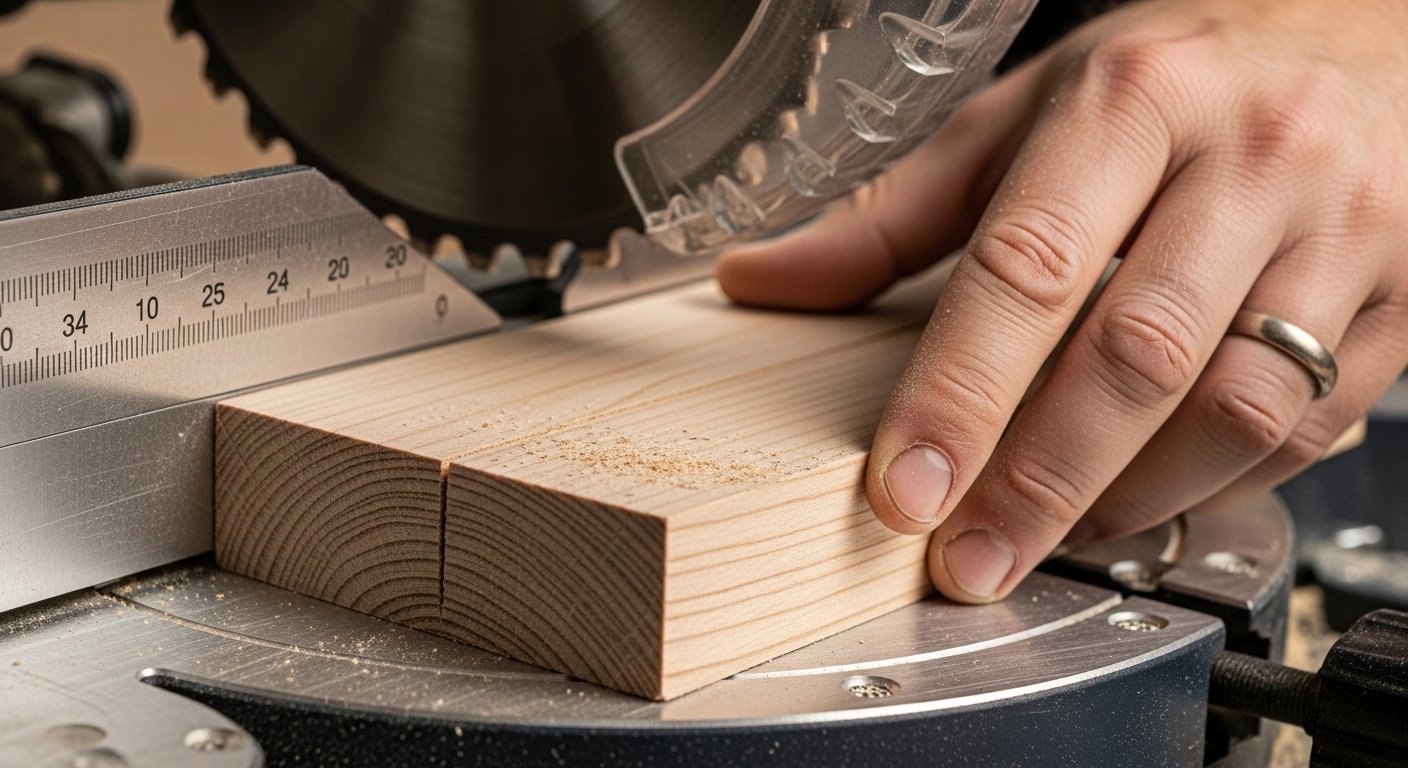
1. Prepare a Scrap Board: Take a piece of square, stable scrap wood (plywood or MDF works well) about 8-10 inches wide and 2-3 feet long. Mark a reference edge (e.g., the factory edge).
2. Make Four Cuts: With the saw set at 0 degrees miter and 0 degrees bevel, make four successive cuts on the board without moving the piece or turning it over between cuts. Cut about an inch off each end, then cut off another inch from the same side, and repeat for a fourth cut. The goal is to create a long, thin strip from the edge of the board.
3. The Fifth Cut: After the fourth cut, take the long, thin strip (the offcut) and cut it into four equal pieces. Stack these four pieces on top of each other, ensuring the same edge is facing up on all of them. Then, slide the top piece slightly back to expose the end of the next piece, and so on, creating a staircase effect. Now, bring the saw down and make a single, fifth cut through all four stacked pieces. The objective is to cut through the end of the four pieces simultaneously. This effectively performs a miter saw square test.
4. Measure the Error: If the saw is perfectly square, the two ends of the fourth piece (the one you just cut) will be parallel. If they are not parallel, you will see a wedge shape. Measure the width of the wedge at both ends. The difference indicates the total error over the width of your test piece. Divide this error by the number of pieces to get the error per piece. This tells you precisely how much your saw is off from square. This method provides an accurate way of checking miter saw accuracy.
Step 5: Adjusting the Miter Saw Fence
A misaligned fence is another common reason why a miter saw not cutting square. The fence must be perfectly perpendicular to the saw blade at its 0-degree miter setting. This addresses “how do you adjust a miter saw fence?”
1. Check Fence Alignment: With the saw blade set at 0 degrees miter and 0 degrees bevel, lower the saw blade gently. Place your combination square against the saw table and then against the fence, ensuring it’s perfectly flush. Then, pivot the square to check its alignment with the saw blade itself.
2. Identify Misalignment: If there are gaps between the square and the fence, or between the square and the blade when the fence is properly referenced, your fence needs adjustment.
3. Loosen Fence Bolts: Most miter saws have bolts that secure the fence to the saw base. Loosen these bolts sufficiently to allow the fence to move slightly. Consult your saw’s manual for precise locations.
4. Align the Fence: Use your combination square to carefully align the fence so it is perfectly perpendicular to the saw blade and straight along the saw table. It should also be parallel to the blade when the blade is at 0 degrees miter. This is critical for miter saw fence alignment.
5. Tighten and Recheck: Once aligned, carefully tighten the fence bolts, making sure not to shift the fence. Recheck the alignment with your combination square. Perform a test cut to confirm the accuracy.
Step 6: Calibrating the Bevel Angle (for Compound Miter Saw Calibration)
For compound miter saws, calibrating the bevel angle is essential for angled cuts that are also tilted. This step specifically addresses miter saw bevel adjustment.
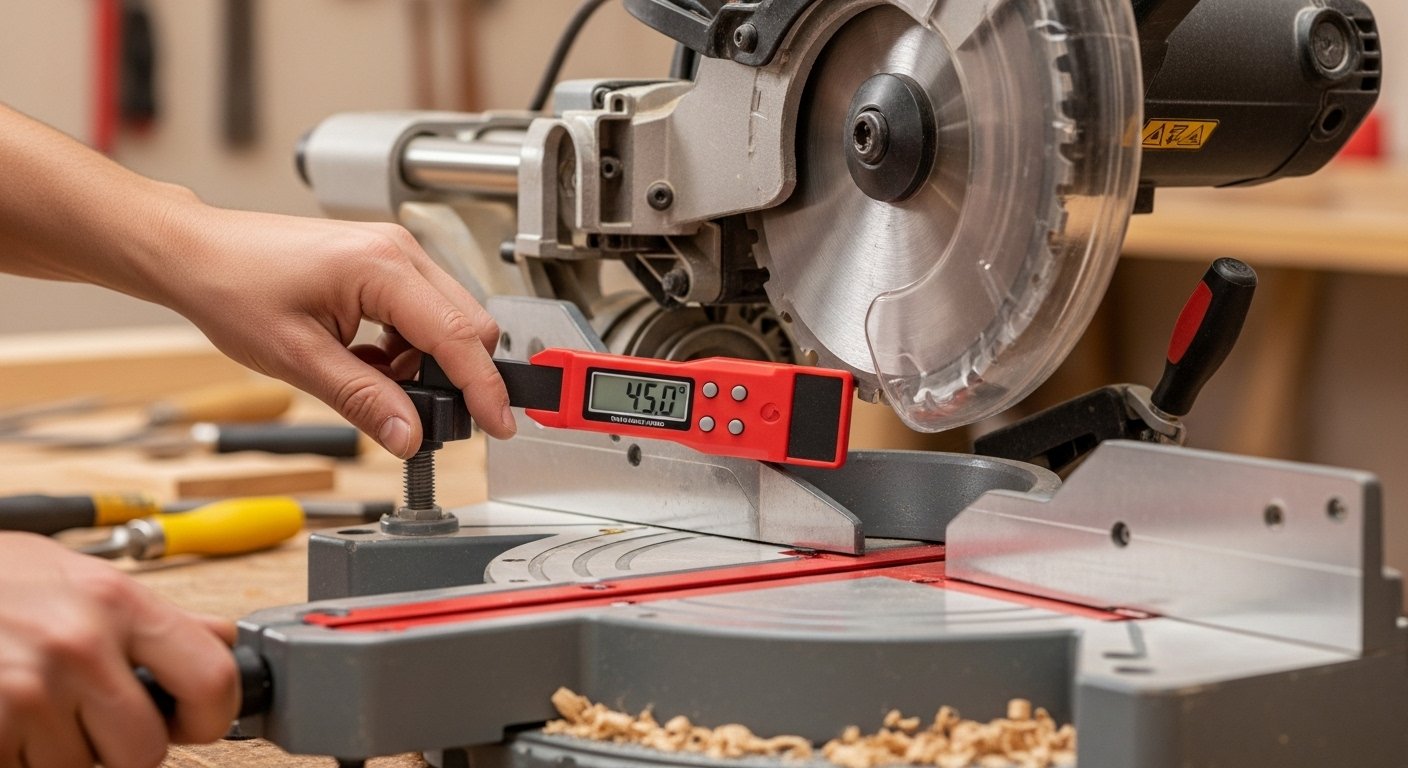
1. Set Bevel to 0 Degrees: Unlock the bevel adjustment and set the saw head to its 0-degree (vertical) position. Lock it in place.
2. Use a Digital Angle Gauge: Place the digital angle gauge on the saw table. Zero it out. Then, place the gauge against the side of the saw blade (avoiding teeth) and read the angle. It should read exactly 90 degrees (or 0 degrees if measuring from the table).
3. Adjust the 0-Degree Bevel Stop: If the reading is not 90 degrees (or 0), locate the 0-degree bevel stop screw, typically at the back or side of the saw head. Loosen the main bevel lock, adjust the screw incrementally until the digital angle gauge reads 90 degrees (or 0 degrees) when against the blade.
4. Check 45-Degree Bevel: Once the 0-degree bevel is accurate, you can check other common bevel angles, such as 45 degrees. Set the saw to 45 degrees bevel, lock it, and then use your digital angle gauge to verify the reading. If it’s off, there might be a separate adjustment screw for the 45-degree stop, or you may need to rely on the accurate 0-degree setting and the saw’s scale for other angles. For detailed guidance on specific power tool models, it’s always a good idea to consult your owner’s manual. Remember, the versatility of tools like the miter saw makes them essential, as highlighted in our list of top 7 power tools to transform your workshop.
5. Test Cut: Make a test cut at a 45-degree bevel on a scrap piece. Create two such pieces and join them to check for a perfect 90-degree corner.
How Do You Adjust a Miter Saw Blade (General Alignment)
Beyond the 90-degree perpendicularity to the table, ensuring the blade itself runs true is vital. While most saws have limited blade alignment adjustments beyond the bevel and miter stops, you should always check for runout (wobble).
1. Blade Inspection: As mentioned in Step 1, visually inspect the saw blade for bends or damage. A warped blade cannot be calibrated.
2. Arbor Tightness: Ensure the arbor nut is tightly secured, holding the blade firmly without play.
3. Blade Washer/Flange: Make sure the blade washers (flanges) are clean and correctly seated on either side of the blade. Debris or damage here can cause the blade to wobble.
4. Test for Runout: Carefully (with the saw unplugged!) try to wobble the blade side to side. There should be minimal to no play. If there is significant wobble, consult your saw’s manual; it might indicate an issue with the arbor or bearings, which may require professional service. For beginners venturing into woodworking, understanding these crucial aspects of tool functionality is as important as knowing the 10 essential woodworking tools for beginners.
By following these steps, you are effectively ensuring your entire miter saw setup guide is aligned for maximum accuracy.
Final Test Cuts and Refinements
After completing all adjustments, it’s crucial to perform several test cuts with sacrificial wood scraps to verify your calibration. Make sure your miter saw setup guide is complete.
1. 90-Degree Crosscut: Make a simple 90-degree crosscut. Use your combination square to check the cut edge against the workpiece. It should be perfectly square. Perform the five-cut test again if you want absolute certainty.
2. 45-Degree Miter Cut: Set the miter angle to 45 degrees and make a cut. Cut a second piece, also at 45 degrees, and join them to form a 90-degree corner. Any gaps indicate further adjustment is needed for the miter scale or stop.
3. 45-Degree Bevel Cut: For compound miter saws, set the bevel to 45 degrees (miter at 0) and make a cut. Like the miter cut, cut a second piece and join them to check for squareness.
4. Compound Cuts (if applicable): If your saw is a compound miter saw or sliding miter saw, test compound cuts by combining miter and bevel angles. This will confirm full compound miter saw calibration.
Continue to fine-tune adjustments until your test cuts are consistently perfect. This iterative process of adjustment and testing is the key to achieving truly perfect crosscuts with your miter saw.
Maintaining Miter Saw Accuracy
Calibration isn’t a one-time event; it’s part of responsible tool ownership. To keep your miter saw performing at its best:
- Regular Cleaning: Keep the saw free of sawdust and debris, especially around moving parts and scales.
- Careful Handling: Avoid dropping or jarring the saw. Store it securely when not in use.
- Quality Blades: Always use sharp, high-quality saw blades appropriate for the material you’re cutting.
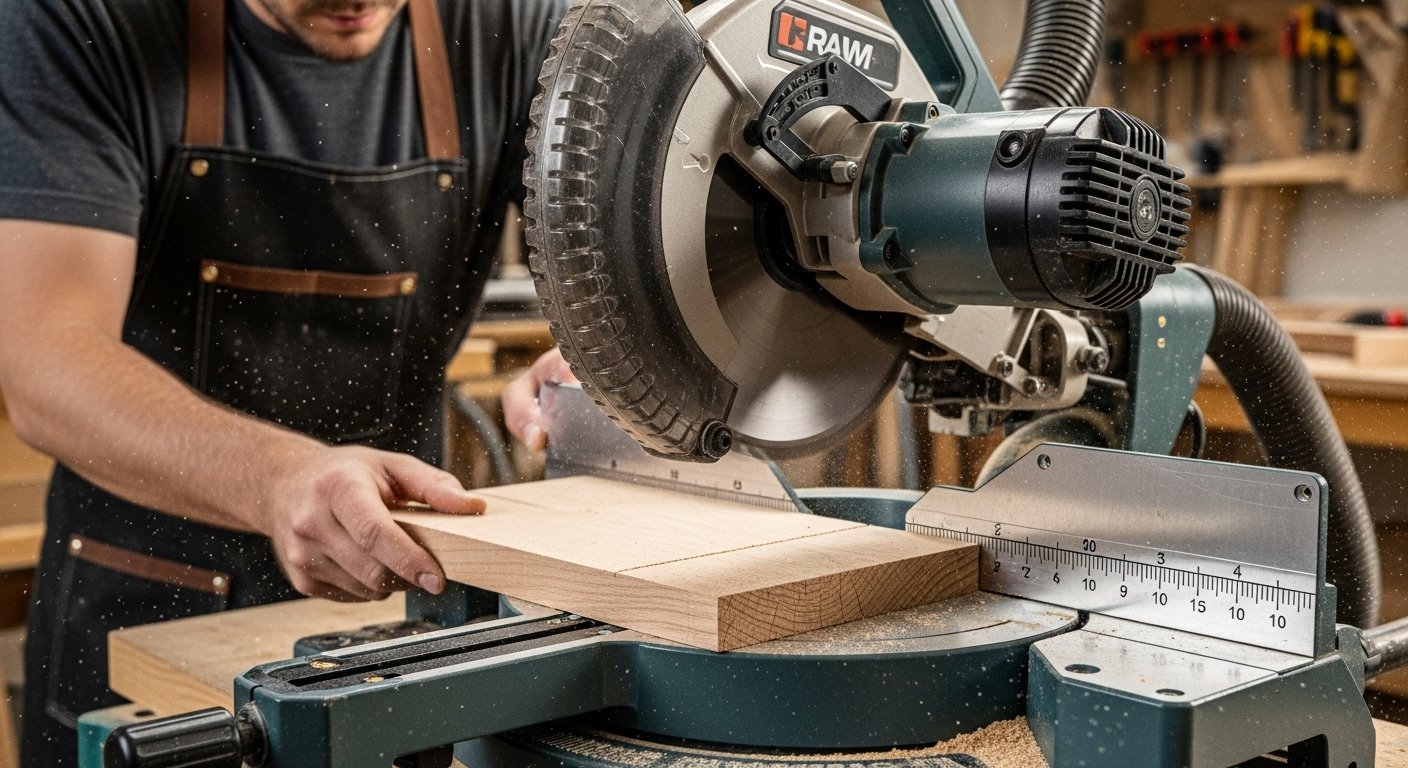
- Support Workpieces: Ensure workpieces are fully supported and clamped to the fence to prevent movement during cuts.
- Periodic Checks: Perform quick accuracy checks with a combination square before critical projects.
Understanding the mechanics of your miter saw and dedicating time to its proper setup will dramatically improve the quality and accuracy of your woodworking projects. A well-calibrated miter saw is an indispensable tool for any workshop, providing the foundation for precision and craftsmanship. For more information on the history and types of miter saws, you can consult the Wikipedia page on Miter Saws [1]. Additionally, general safety requirements for woodworking machinery, including features like fences and gauges designed for exact alignment, are outlined by the Occupational Safety and Health Administration (OSHA) [14].